While we frequently post on this blog about the collections we’re digitizing (or about to digitize) we rarely talk about the various processes of digitizing that we use. To bring more light to our techniques I thought I’d show you a couple of the methods we use for getting books ready to digitize.
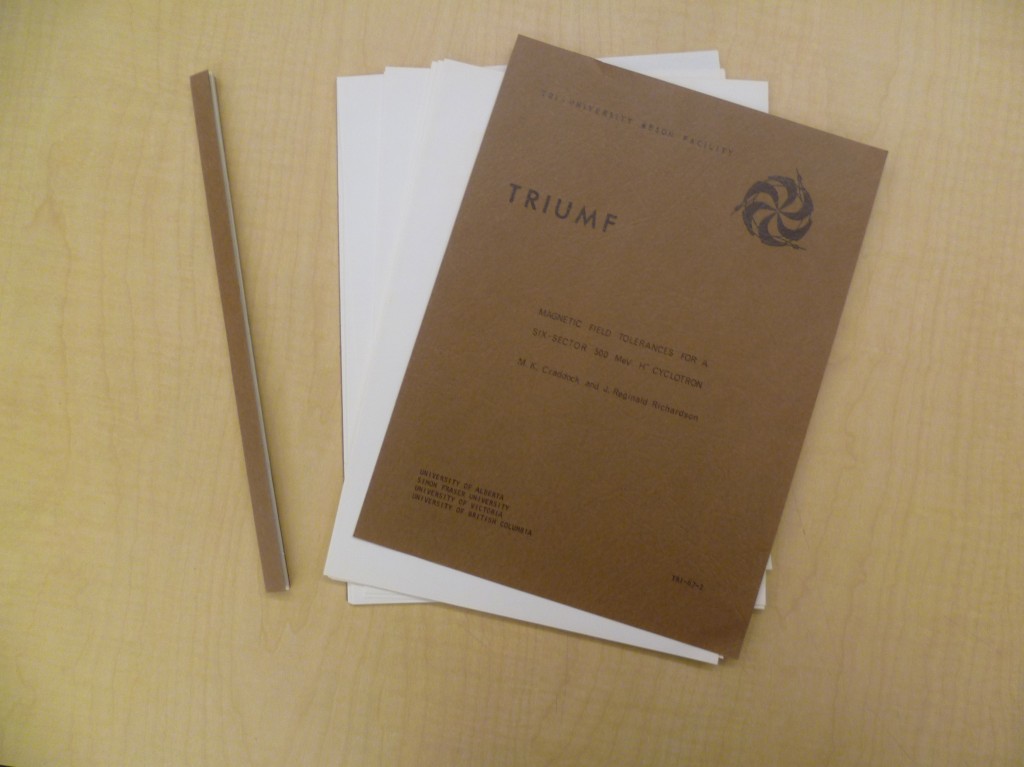
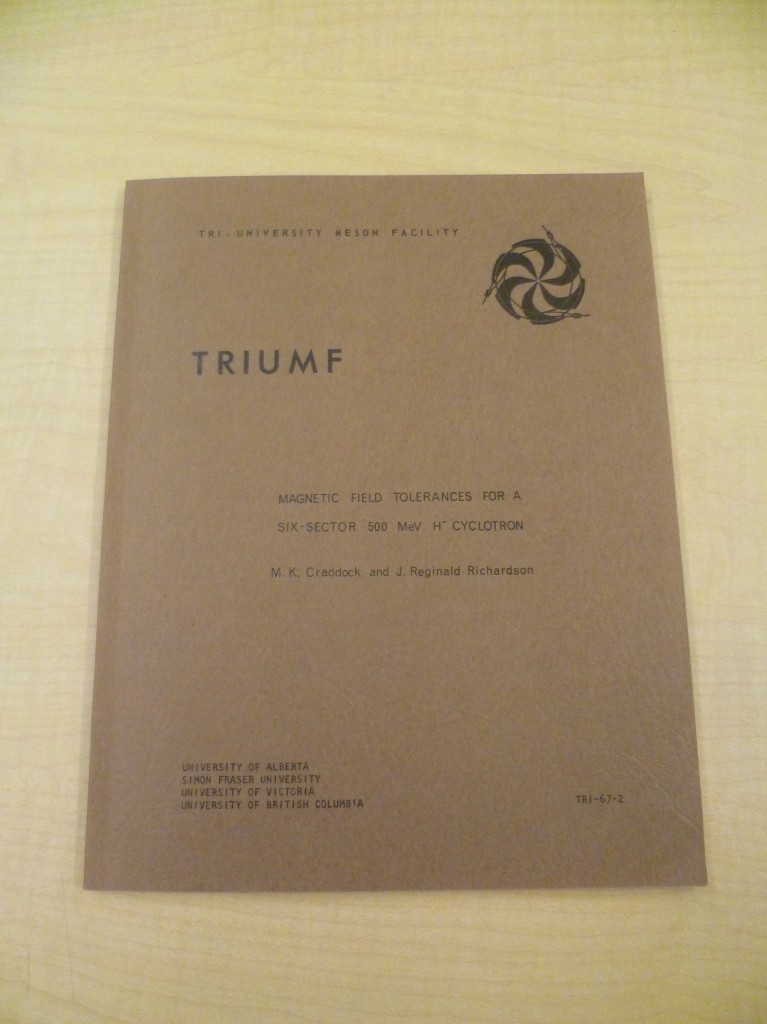 Last month we announced that we’d be digitizing a number of reports and other documents from TRIUMF, the Canadian laboratory for particle and nuclear physics located on UBC campus. Since TRIUMF had multiple copies of these reports we were given permission to cut the bindings off the ones we received in order to speed the digitization process.
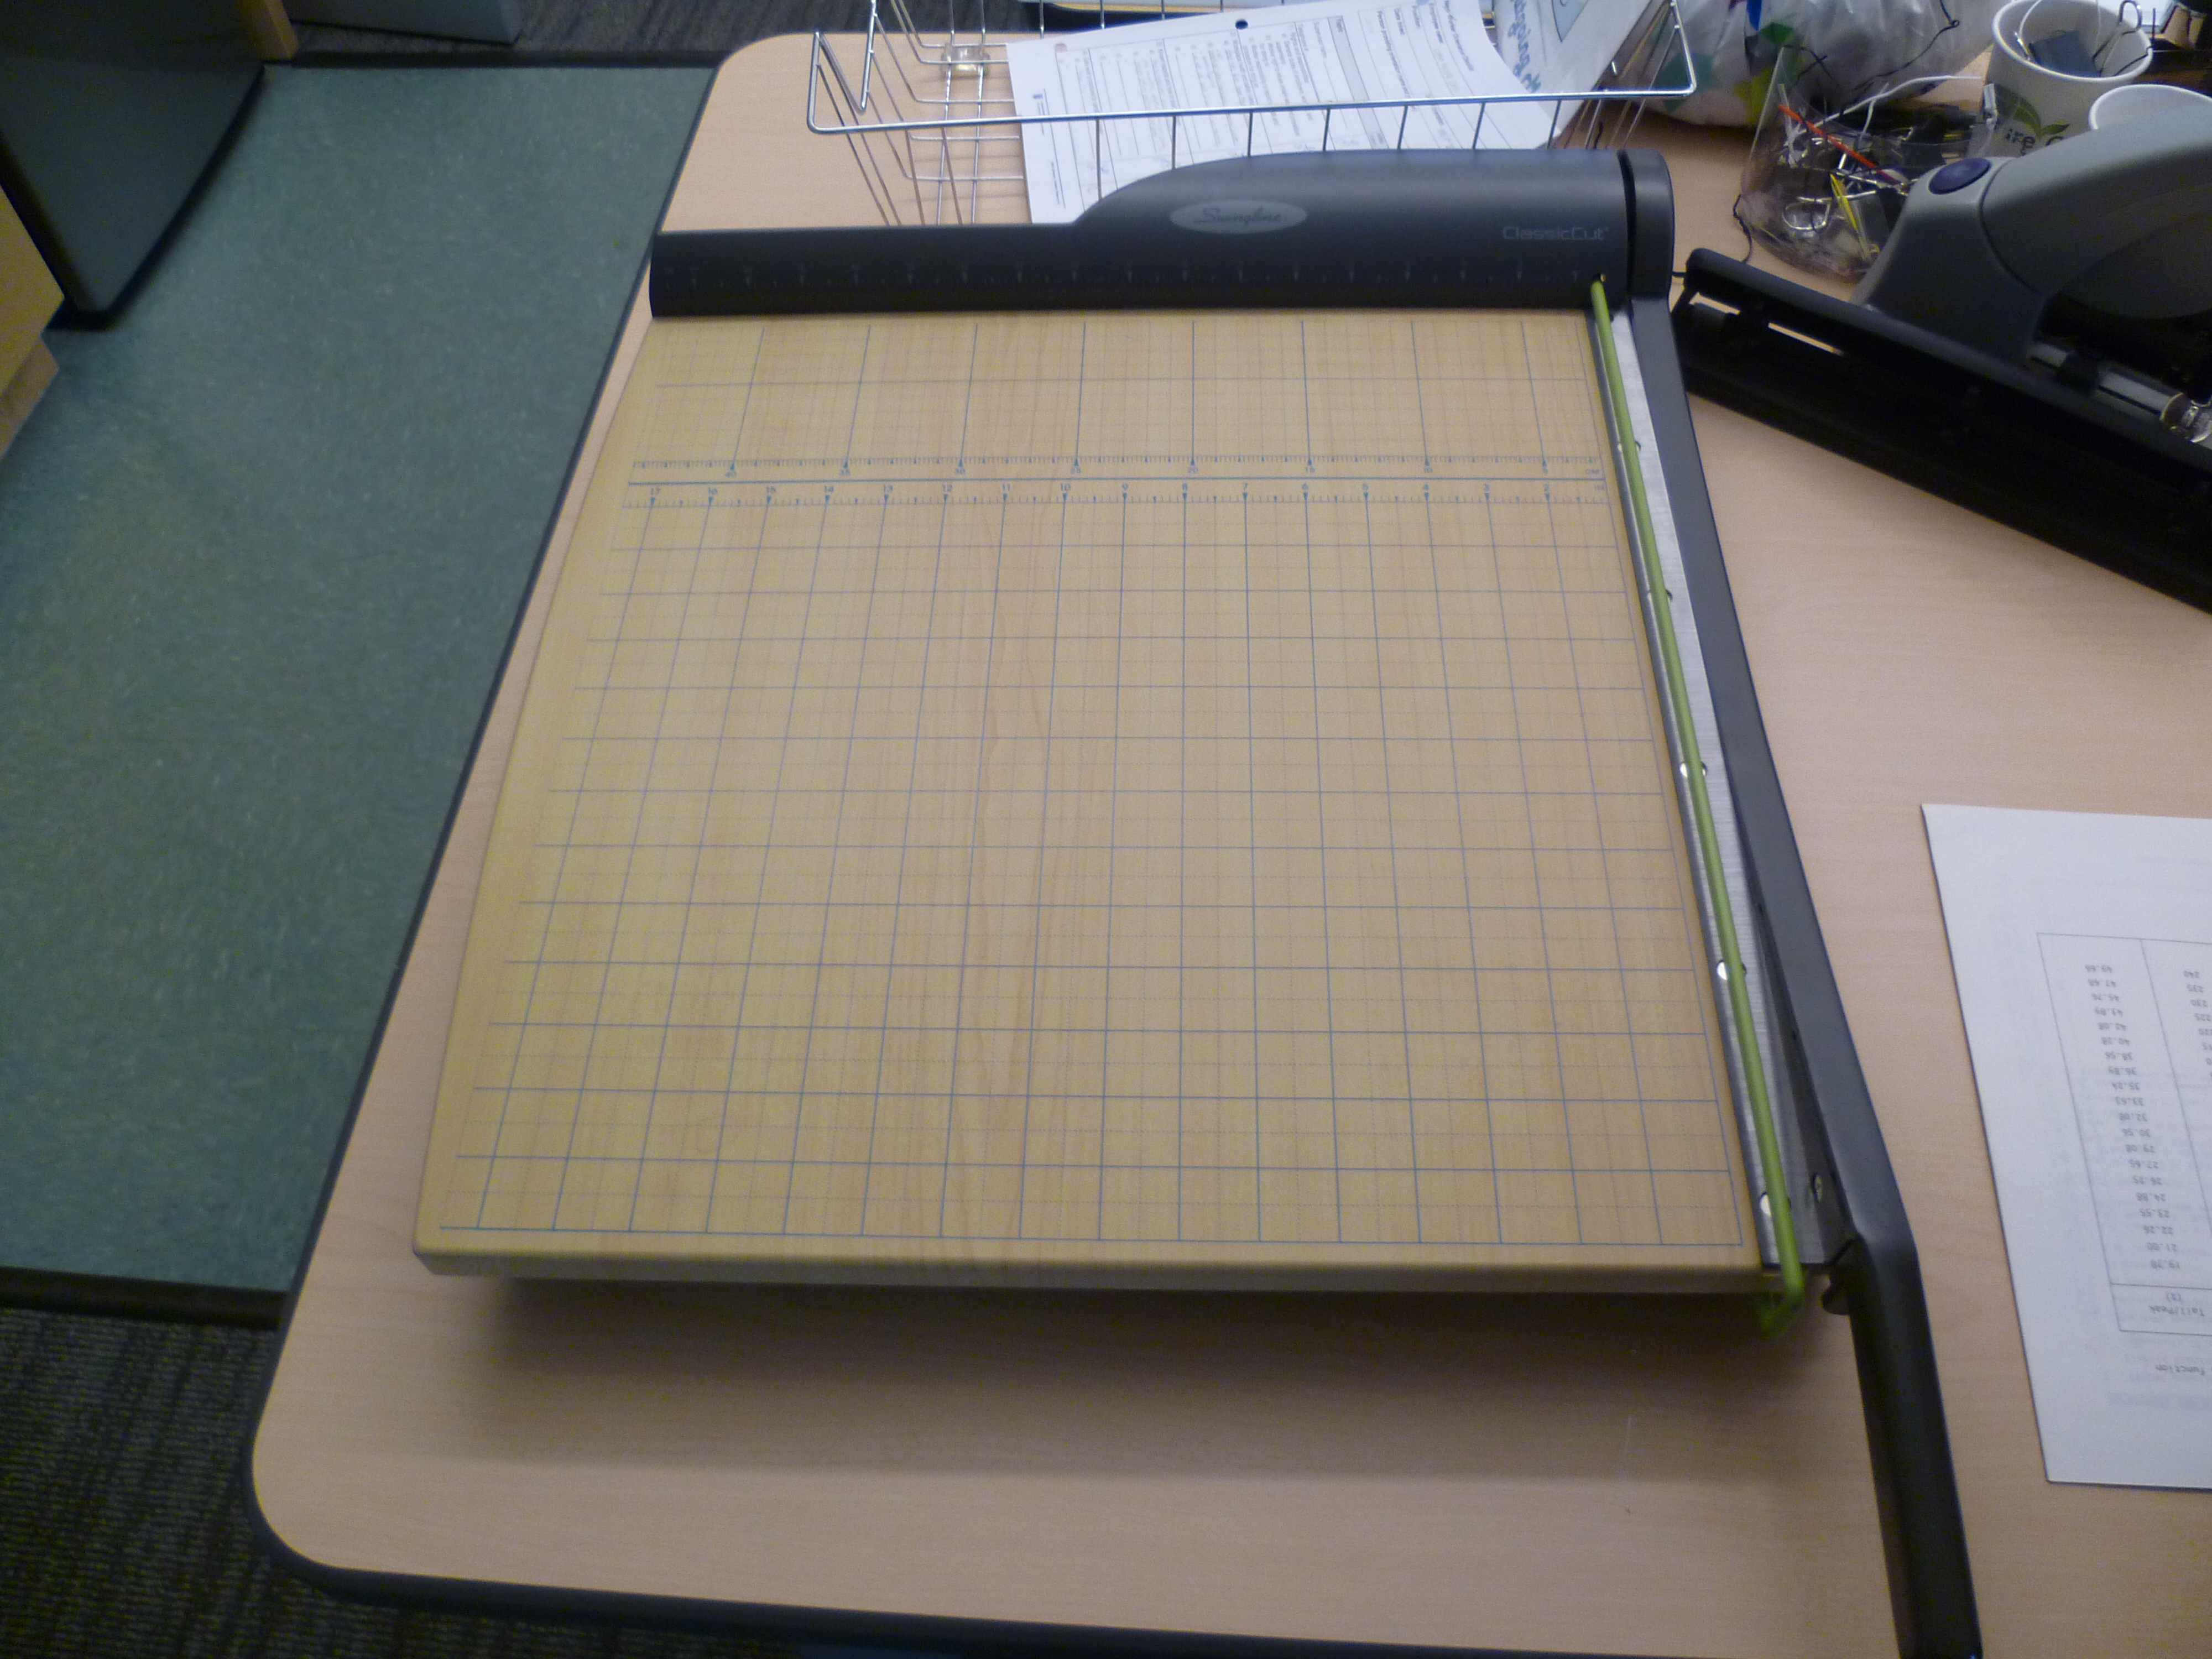 For the thinner reports we can just use this paper cutter. It slices off the bindings easily!
 Here’s Krista, one of our student digitizers, cutting the spine off a report.
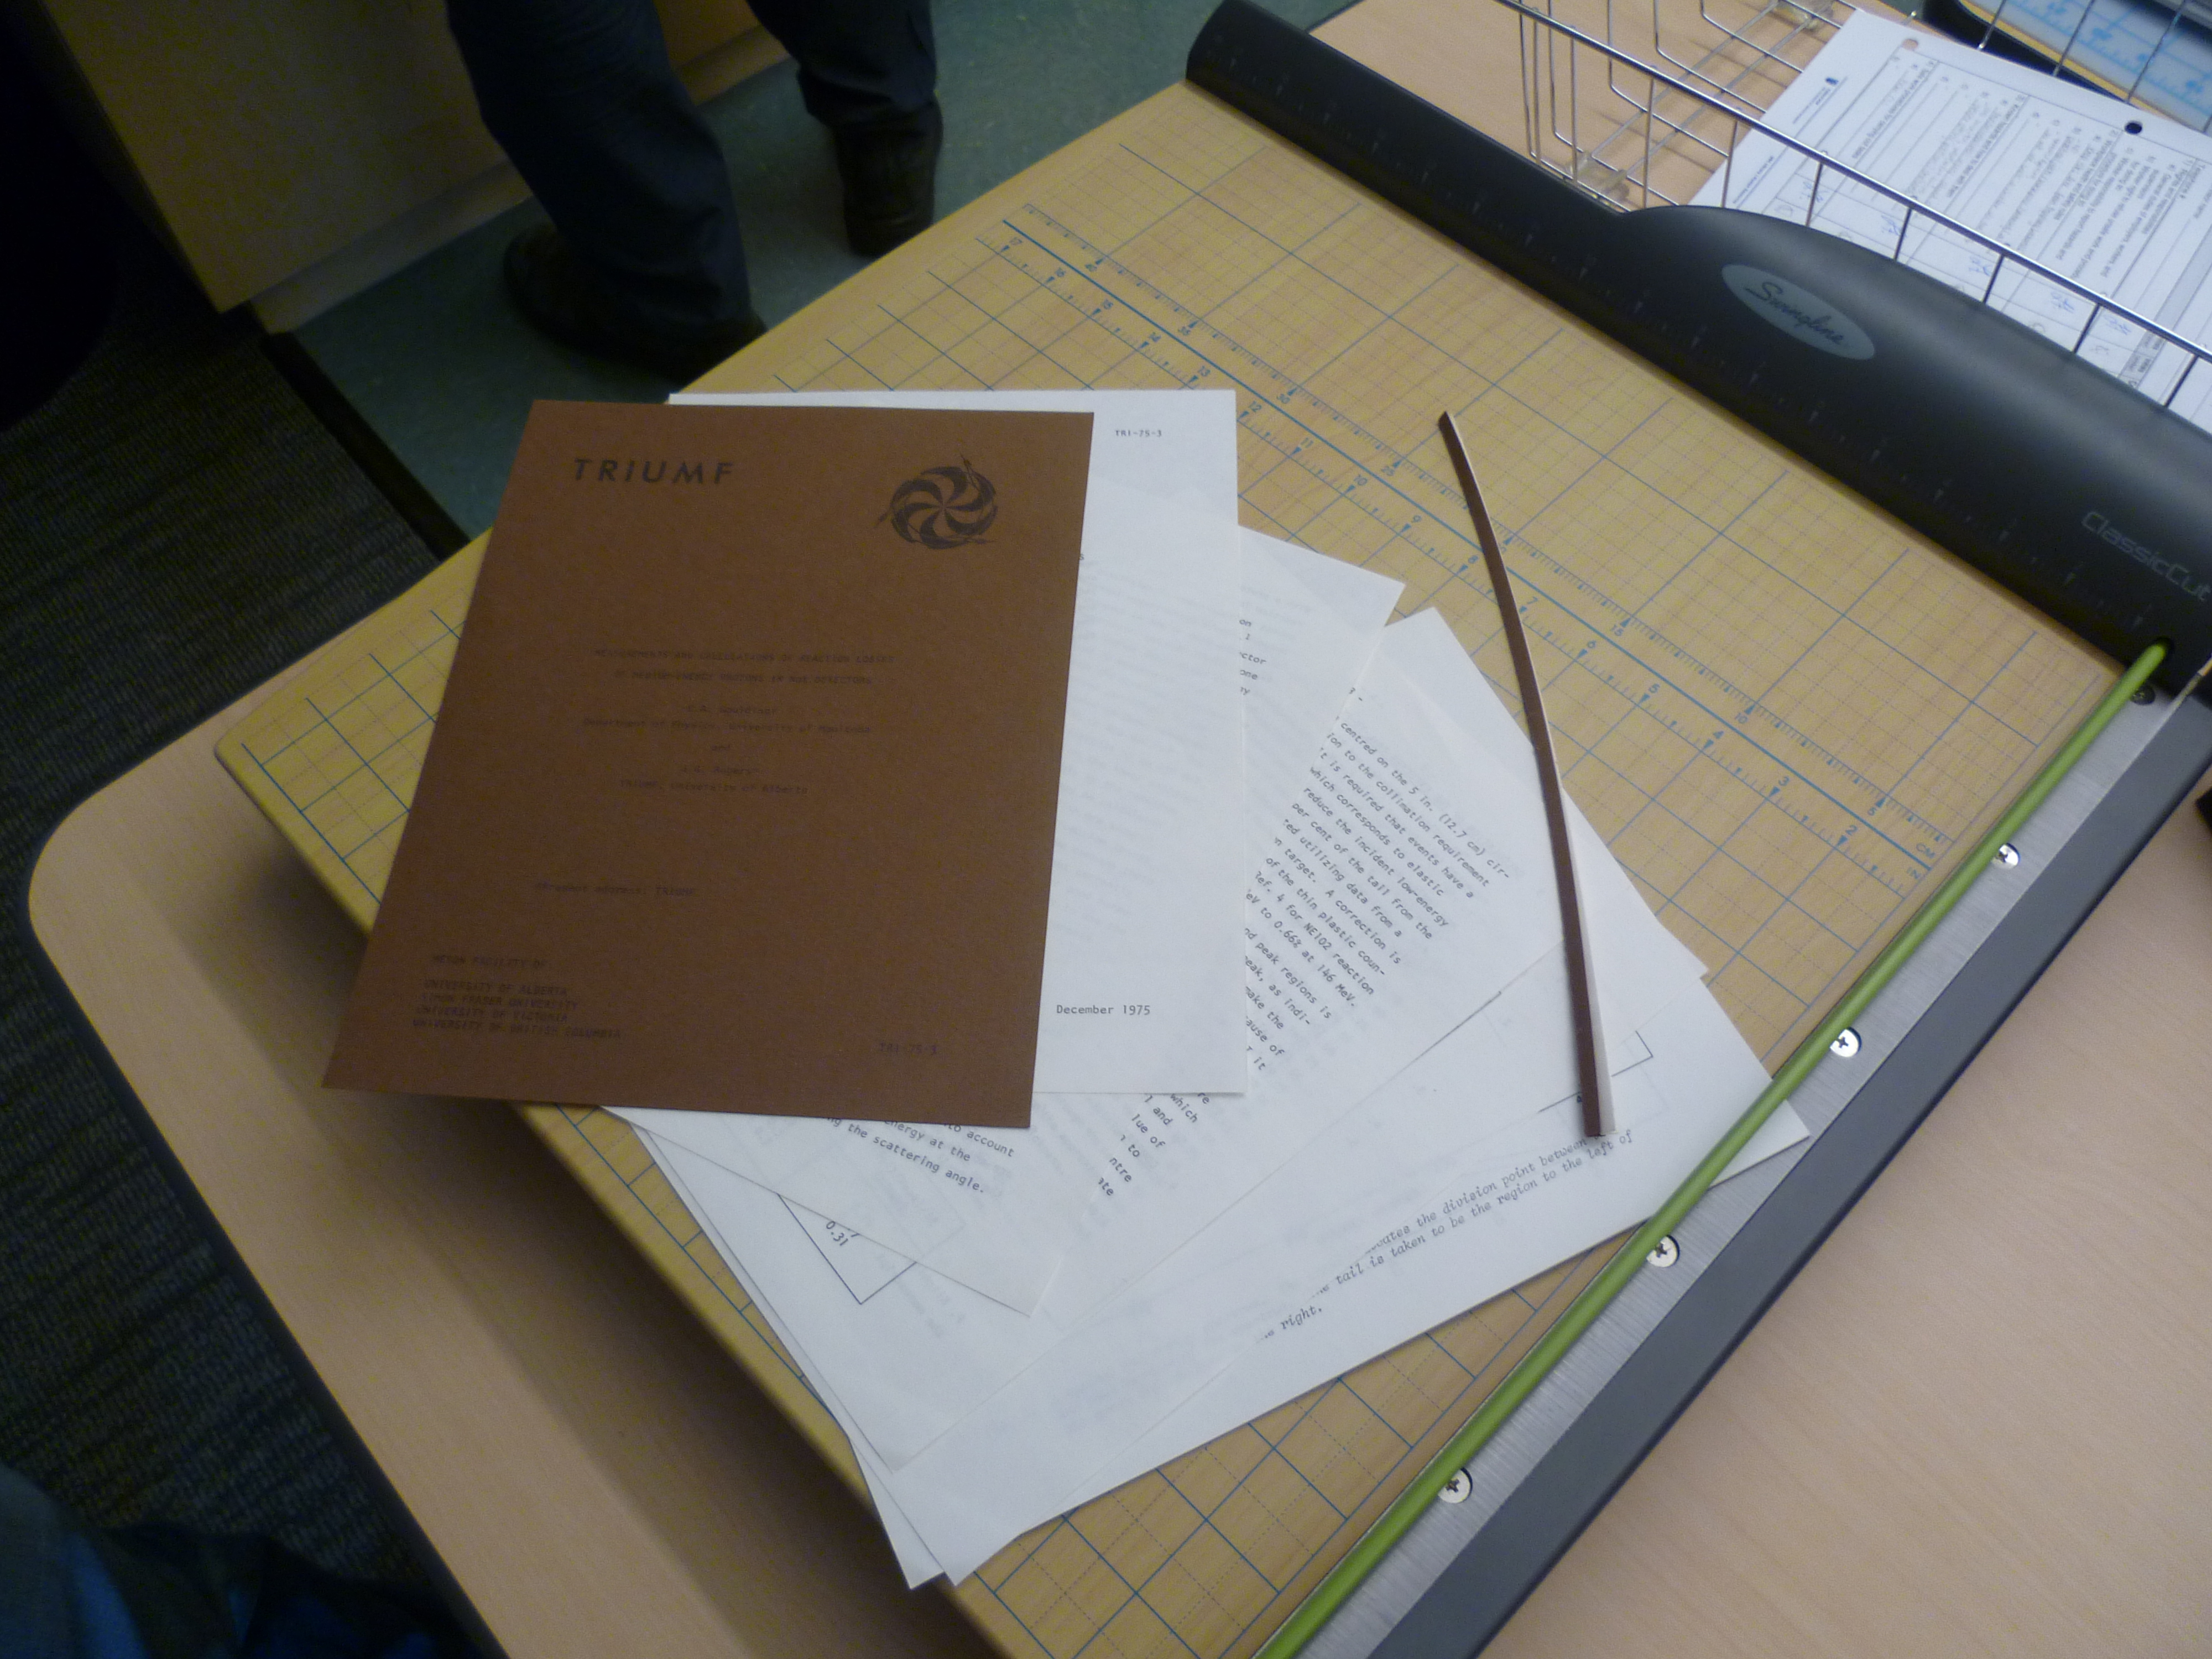 The final product! Now the pages are ready to go into our Fujitsu document scanner, but more on that below. First I have to show you our other paper cutting machine, the one we use for thicker books.
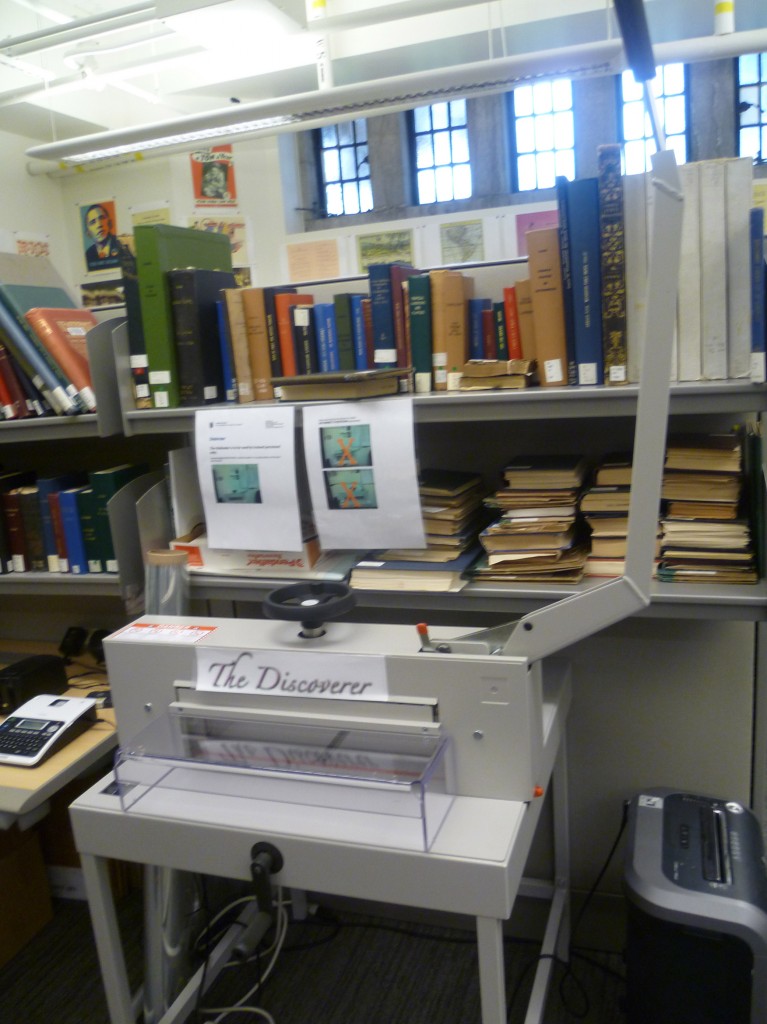 We call it The Discoverer! In this case the “dis” in the name means to take apart (such as in disconnect), as we use the machine to remove the spines (and thus, the covers) from various bound volumes.
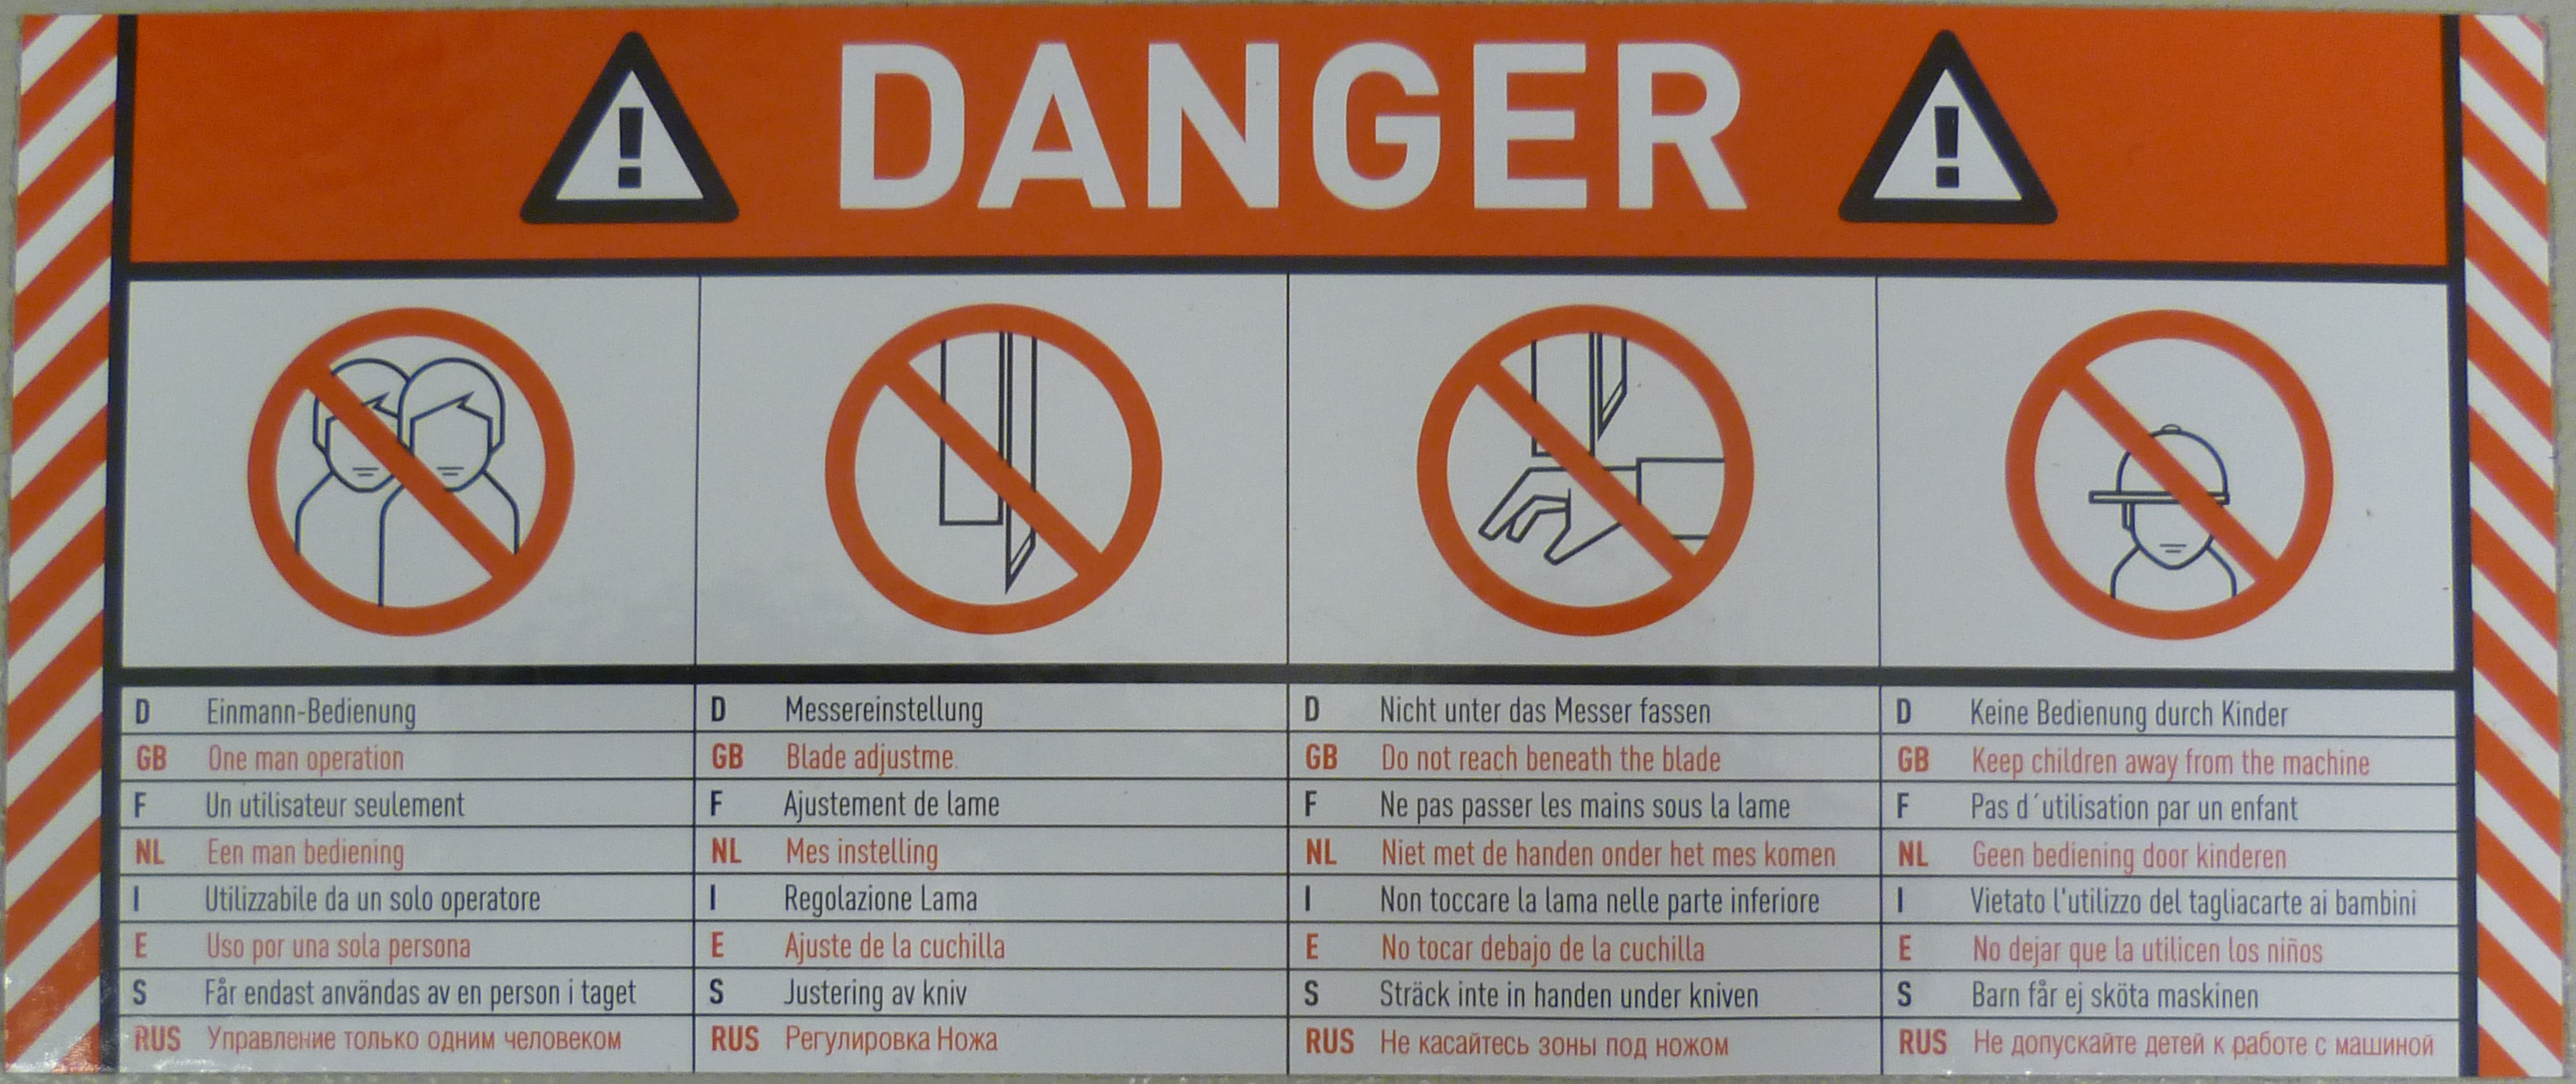
The Discoverer is a somewhat scary machine covered in warnings that say it is not to be used unless people have received the proper training. An important note: We don’t use this for every project! In fact, we use this for quite a small number of projects (this is the first time this year that it’s been used at all).
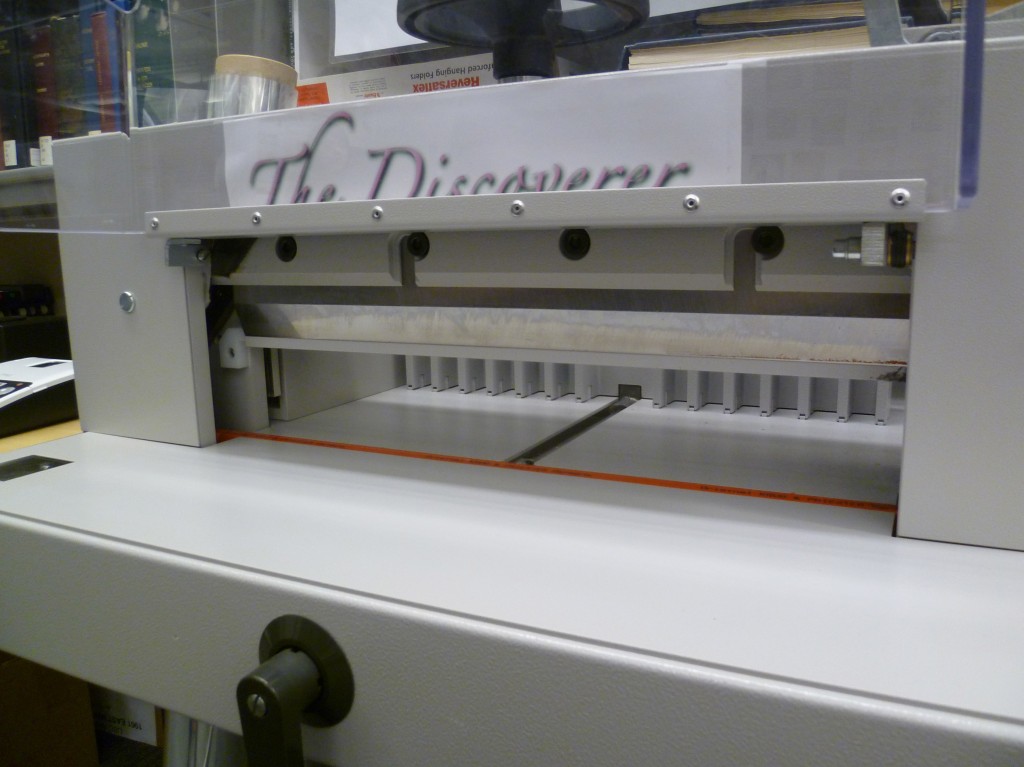 This is what the Discoverer looks like once the plastic cover has been flipped up. You can see the raised blade in there. It can’t be brought down until the cover has been closed.
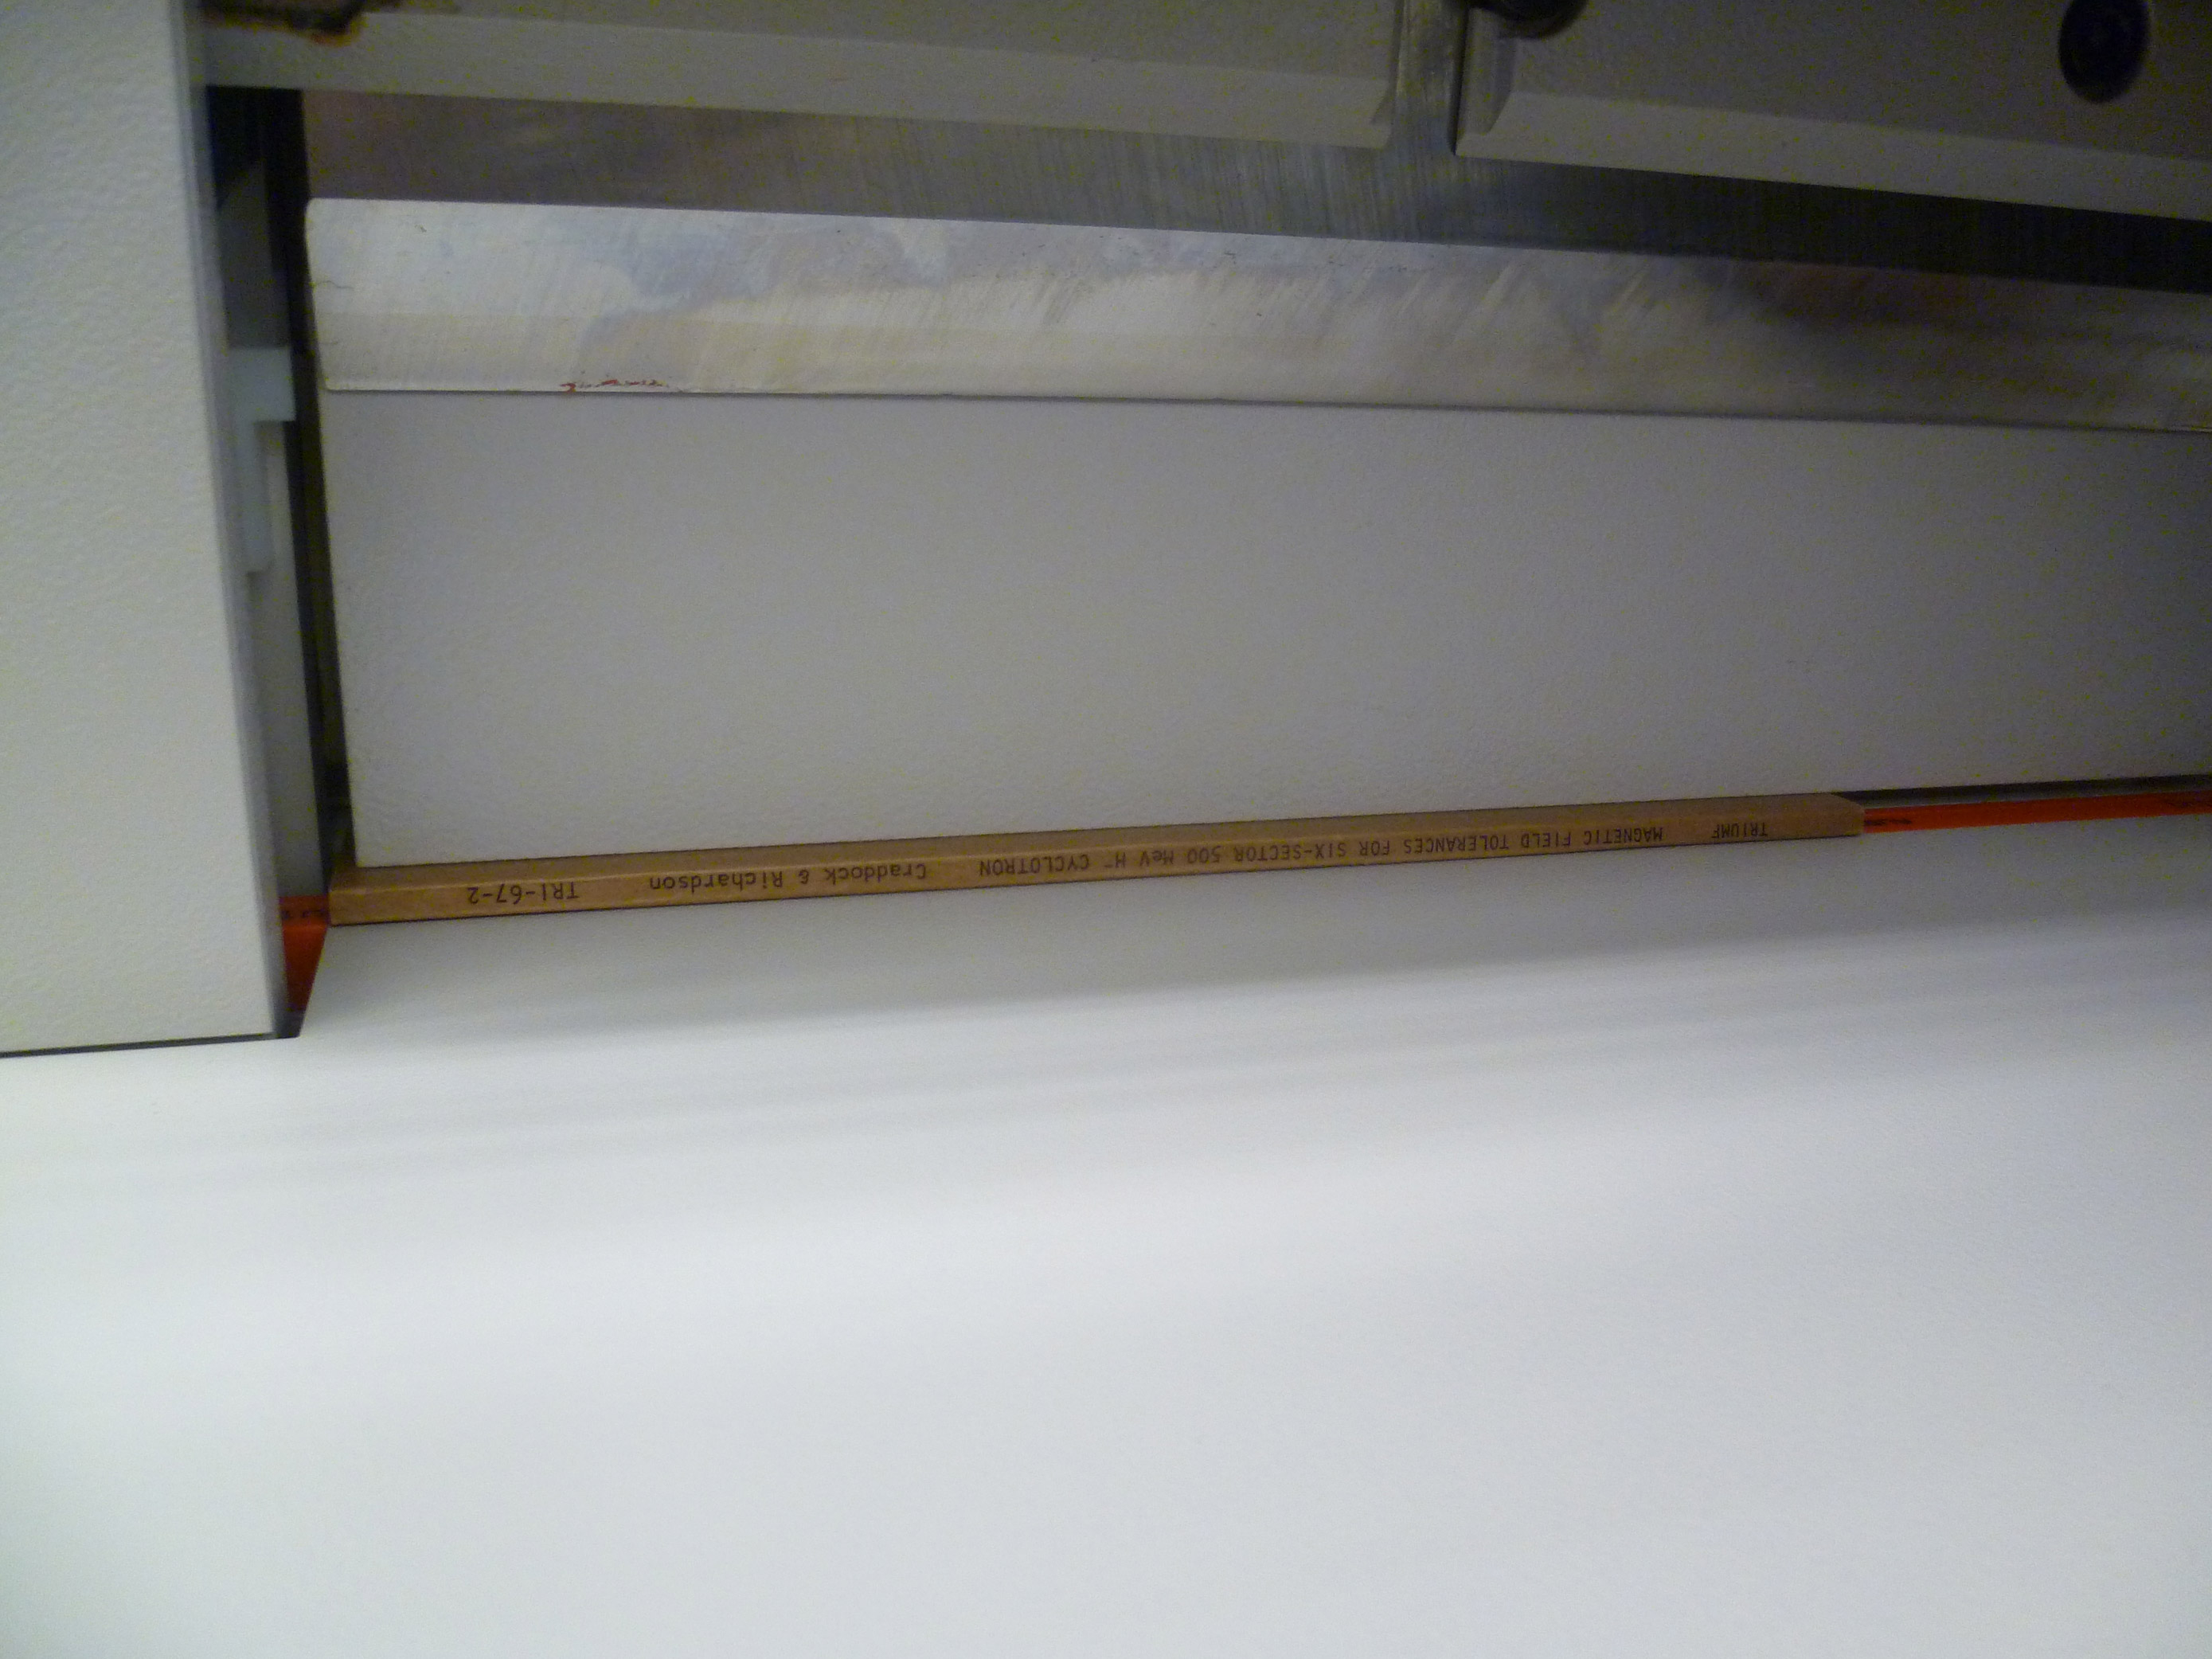
 After checking to see where the margins inside the book are like we line it up along the red line.
 The handle on the front moves the back of the machine forward or backwards so that everything stays straight.
 Then we screw down the top to hold everything in place.
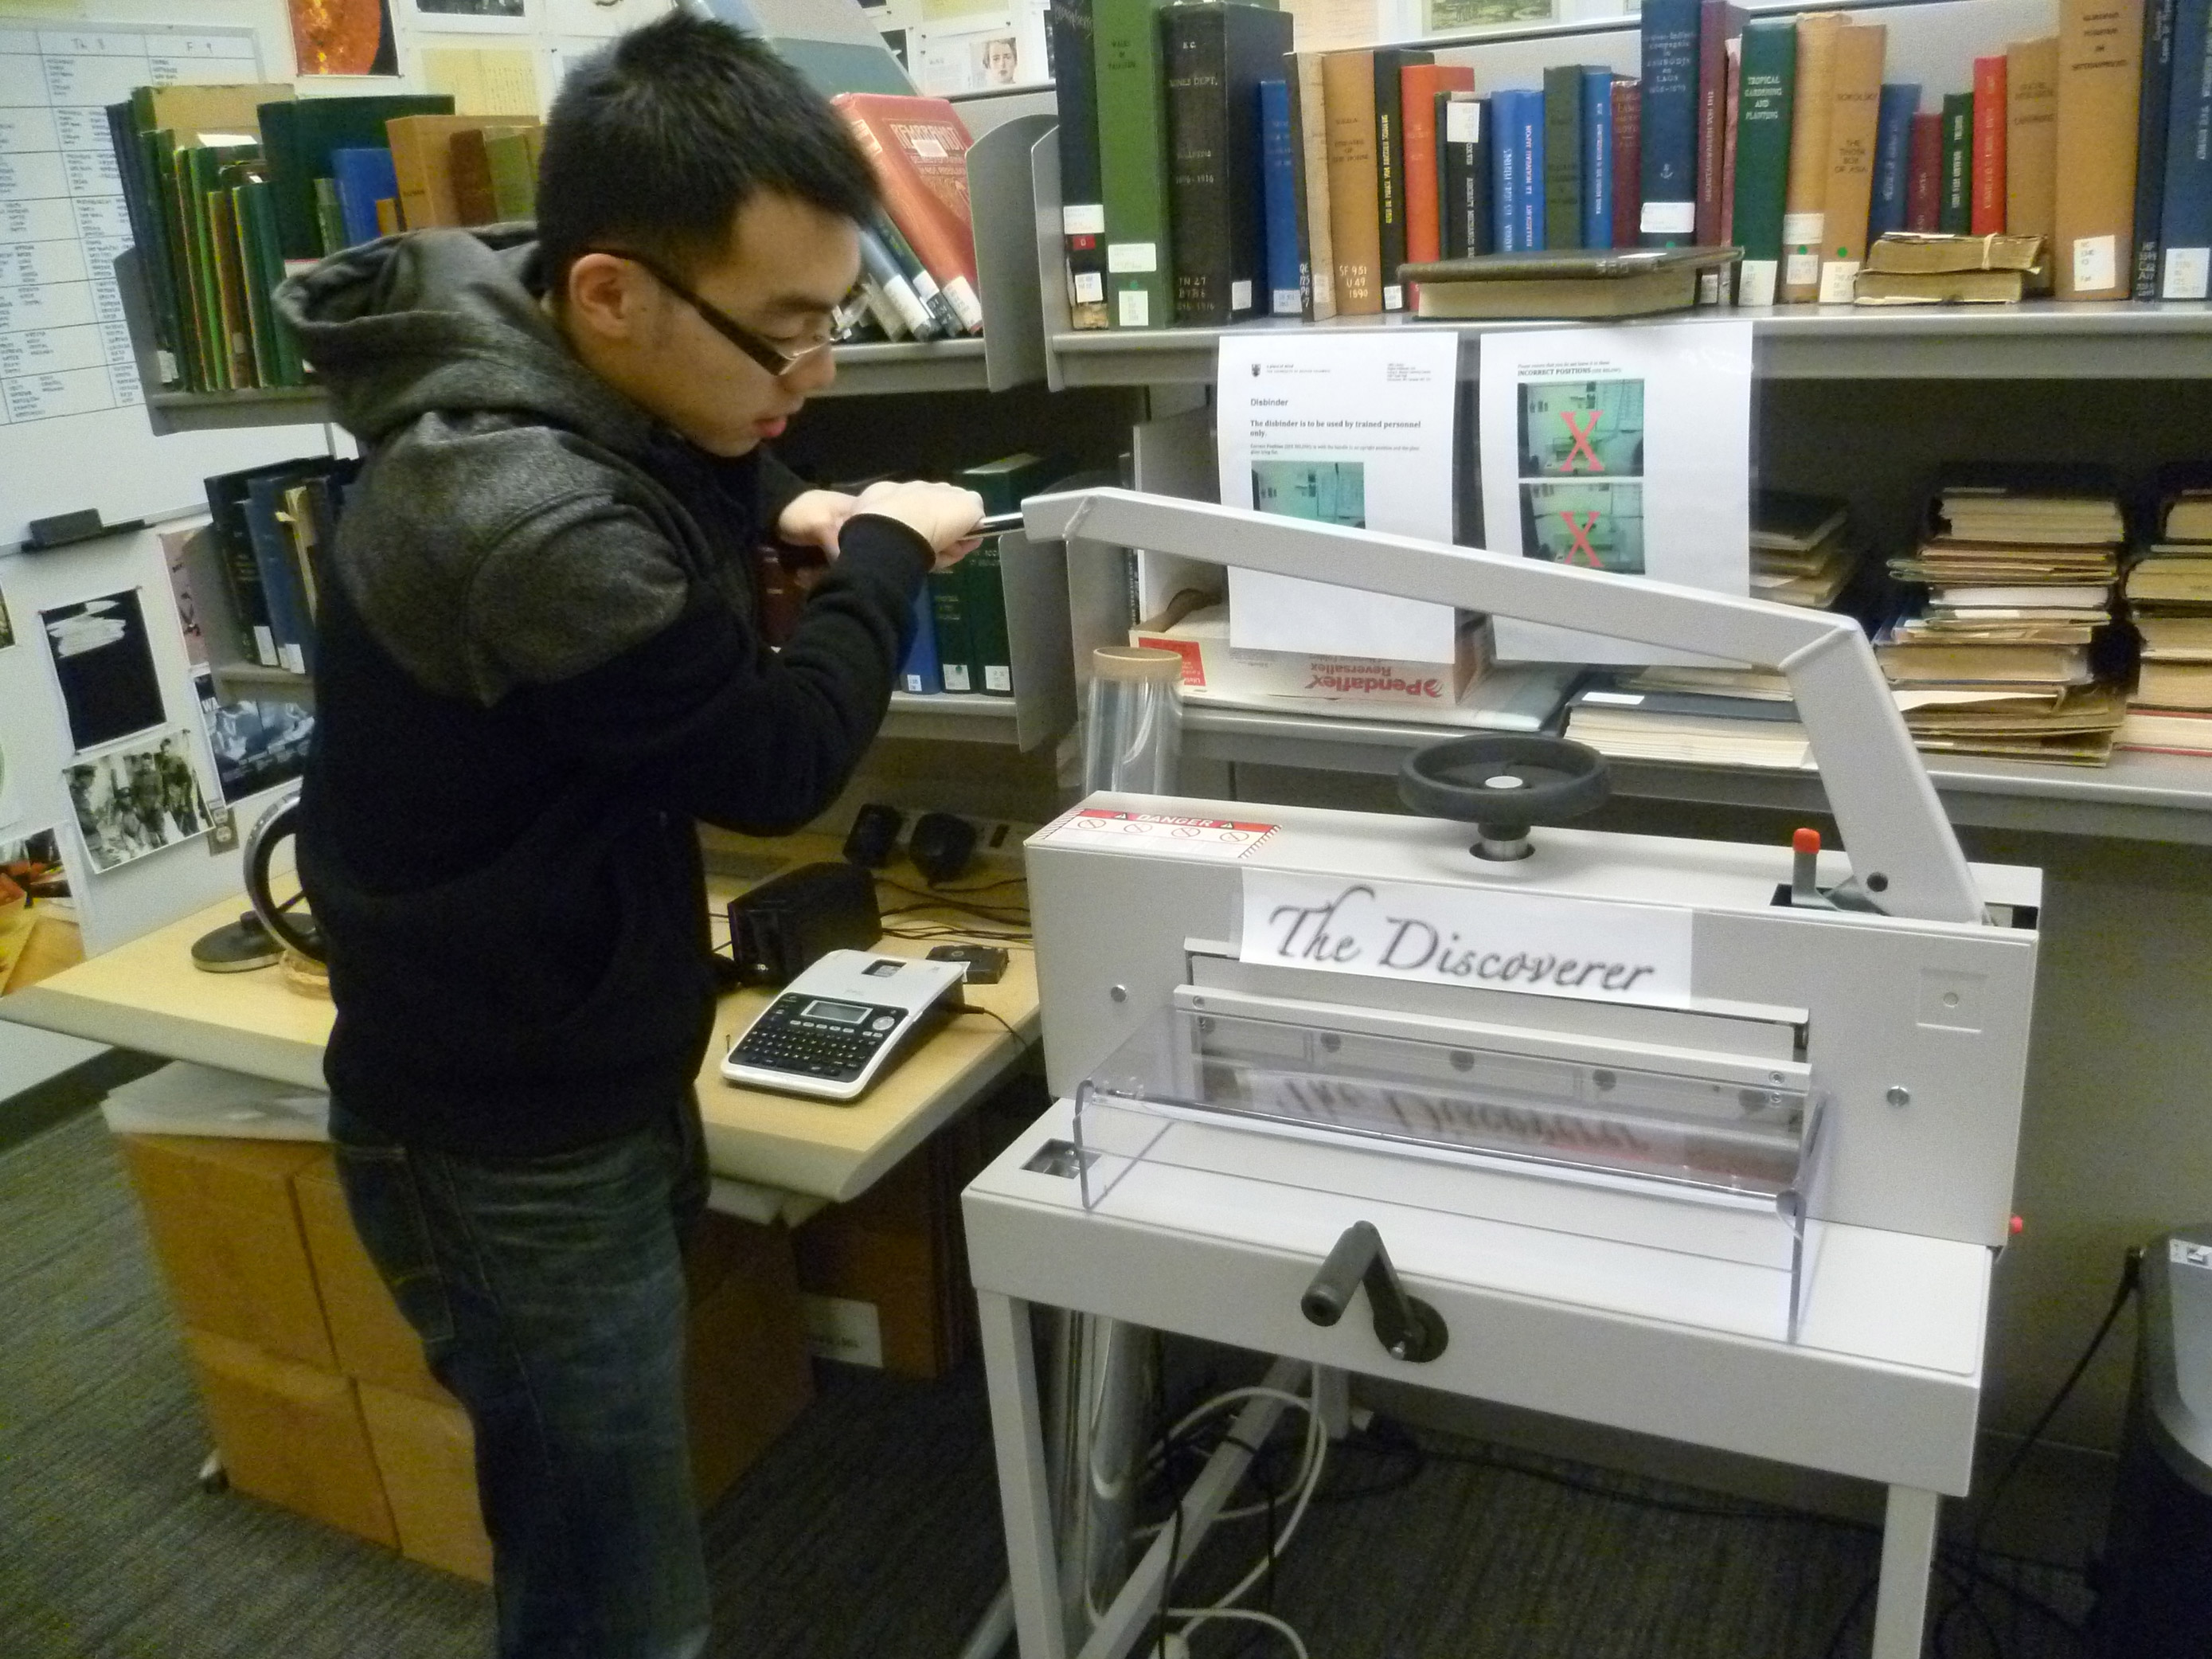 We close the lid, release the red lever, and pull the blade down, cutting the spine off the book. The blade is really sharp, but for thick books it can take a fair bit of force. (Here’s Derek, another of our student digitizers, demonstrating the proper technique.)
Of course, when I decided to video us cutting the spine off the book we discovered that the recent increased usage has dulled the blade somewhat, and it’s considerably harder to cut through thicker books. We’re fixing that imminently.
Here’s what a book looks like once its had its spine cut off in The Discoverer.
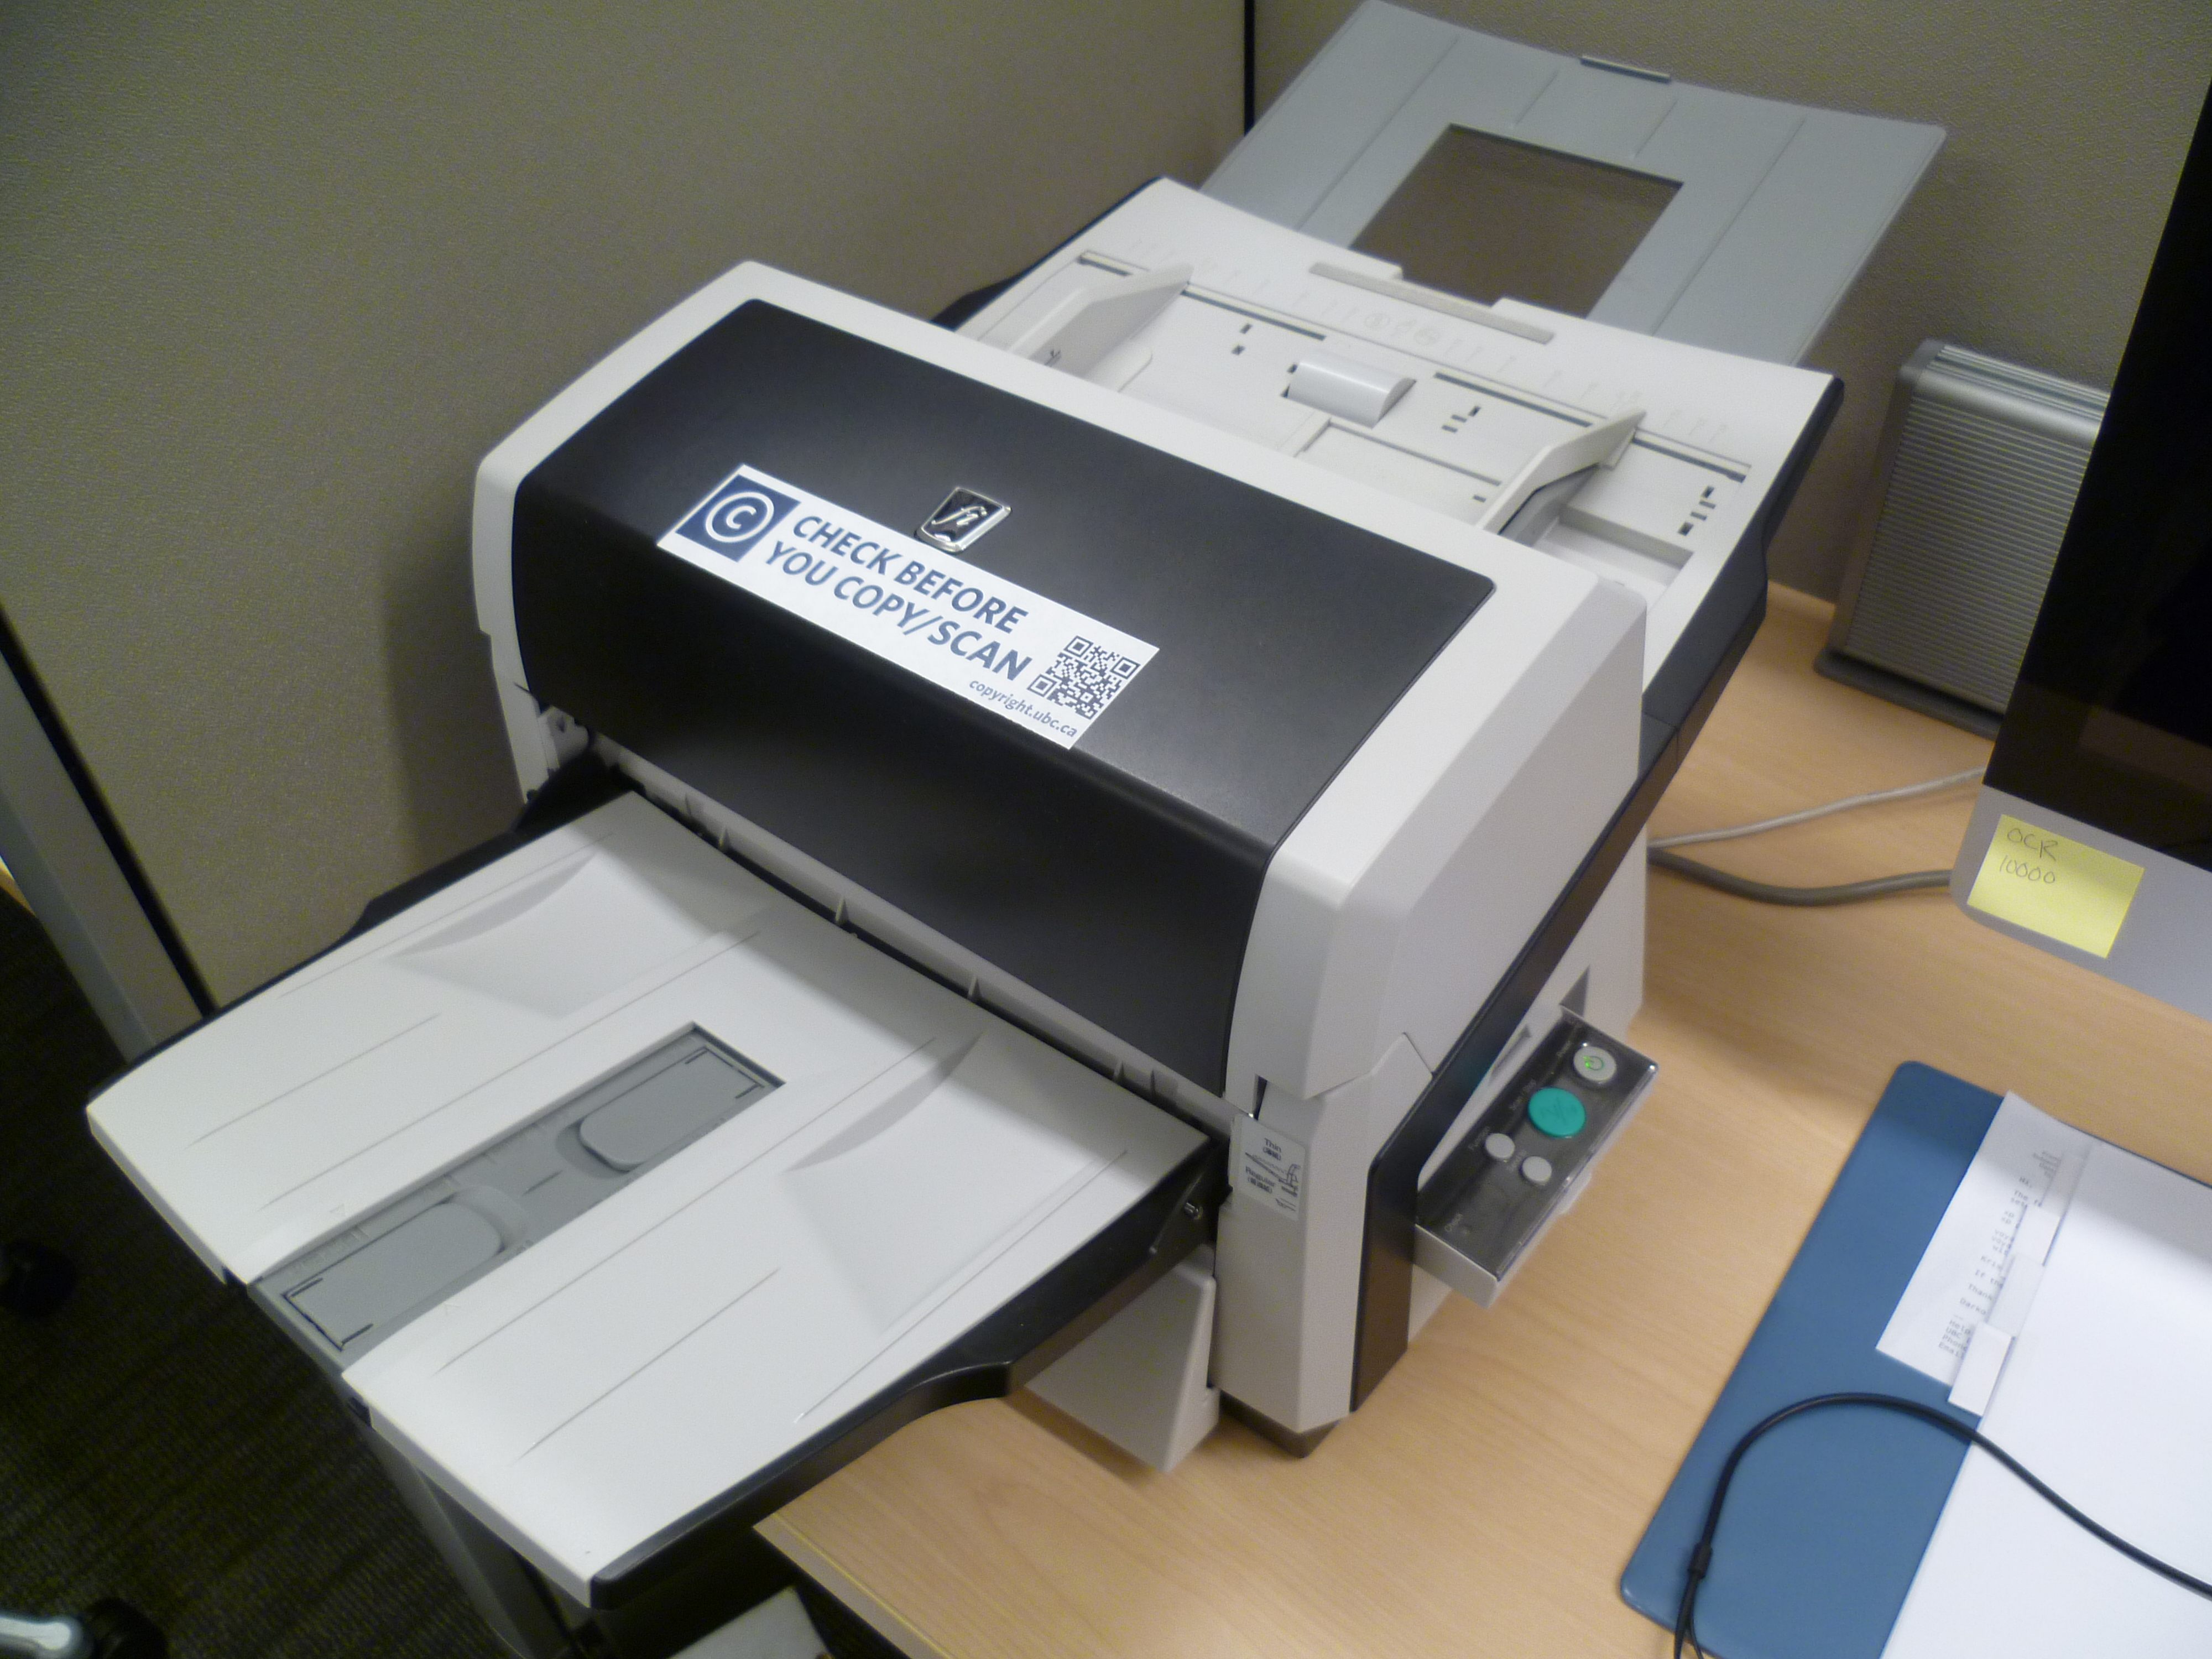 Once we’ve cut off the spine (and ensured that none of the pages are stuck together) we can put the pages into one of our Fujitsu document scanners. These are great machines that allow us to scan unbound or disbound material incredibly quickly. It can even scan both sides of a document at once! Right now we’re keeping all of the documents after we’ve scanned them, and we’re not sure if we’ll return them to TRIUMF (in folders) or just recycle them once the project is complete.
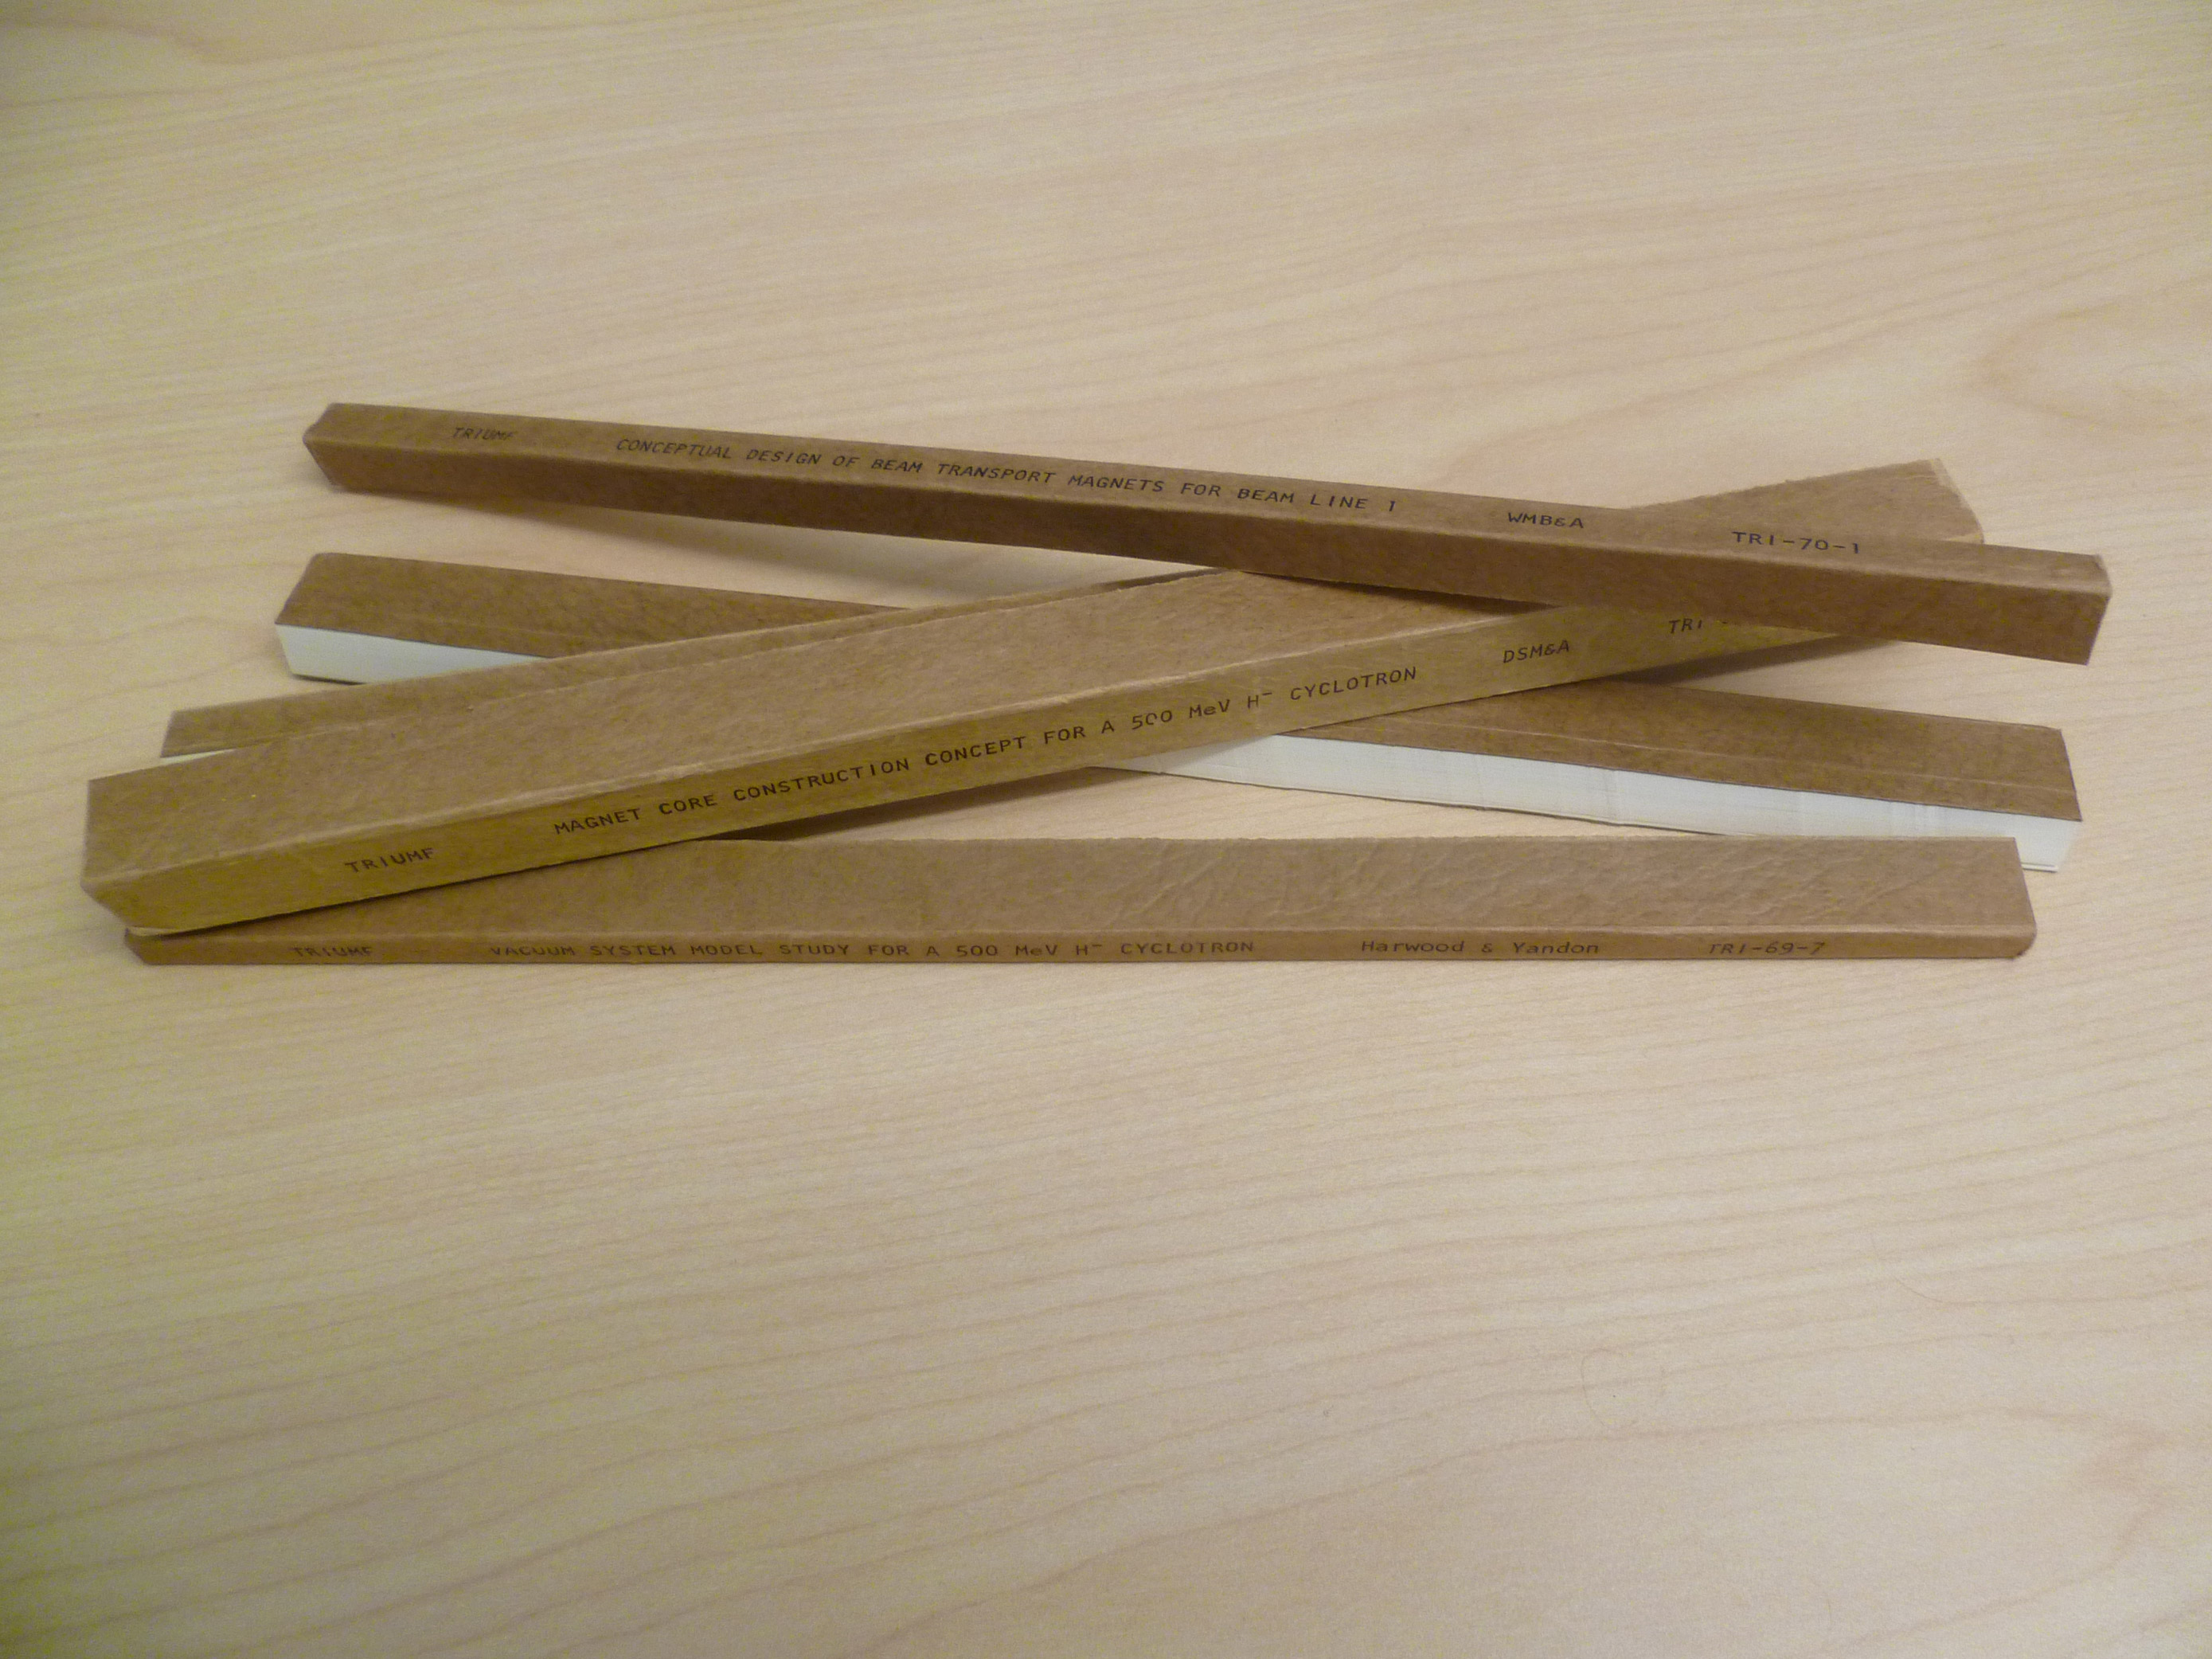
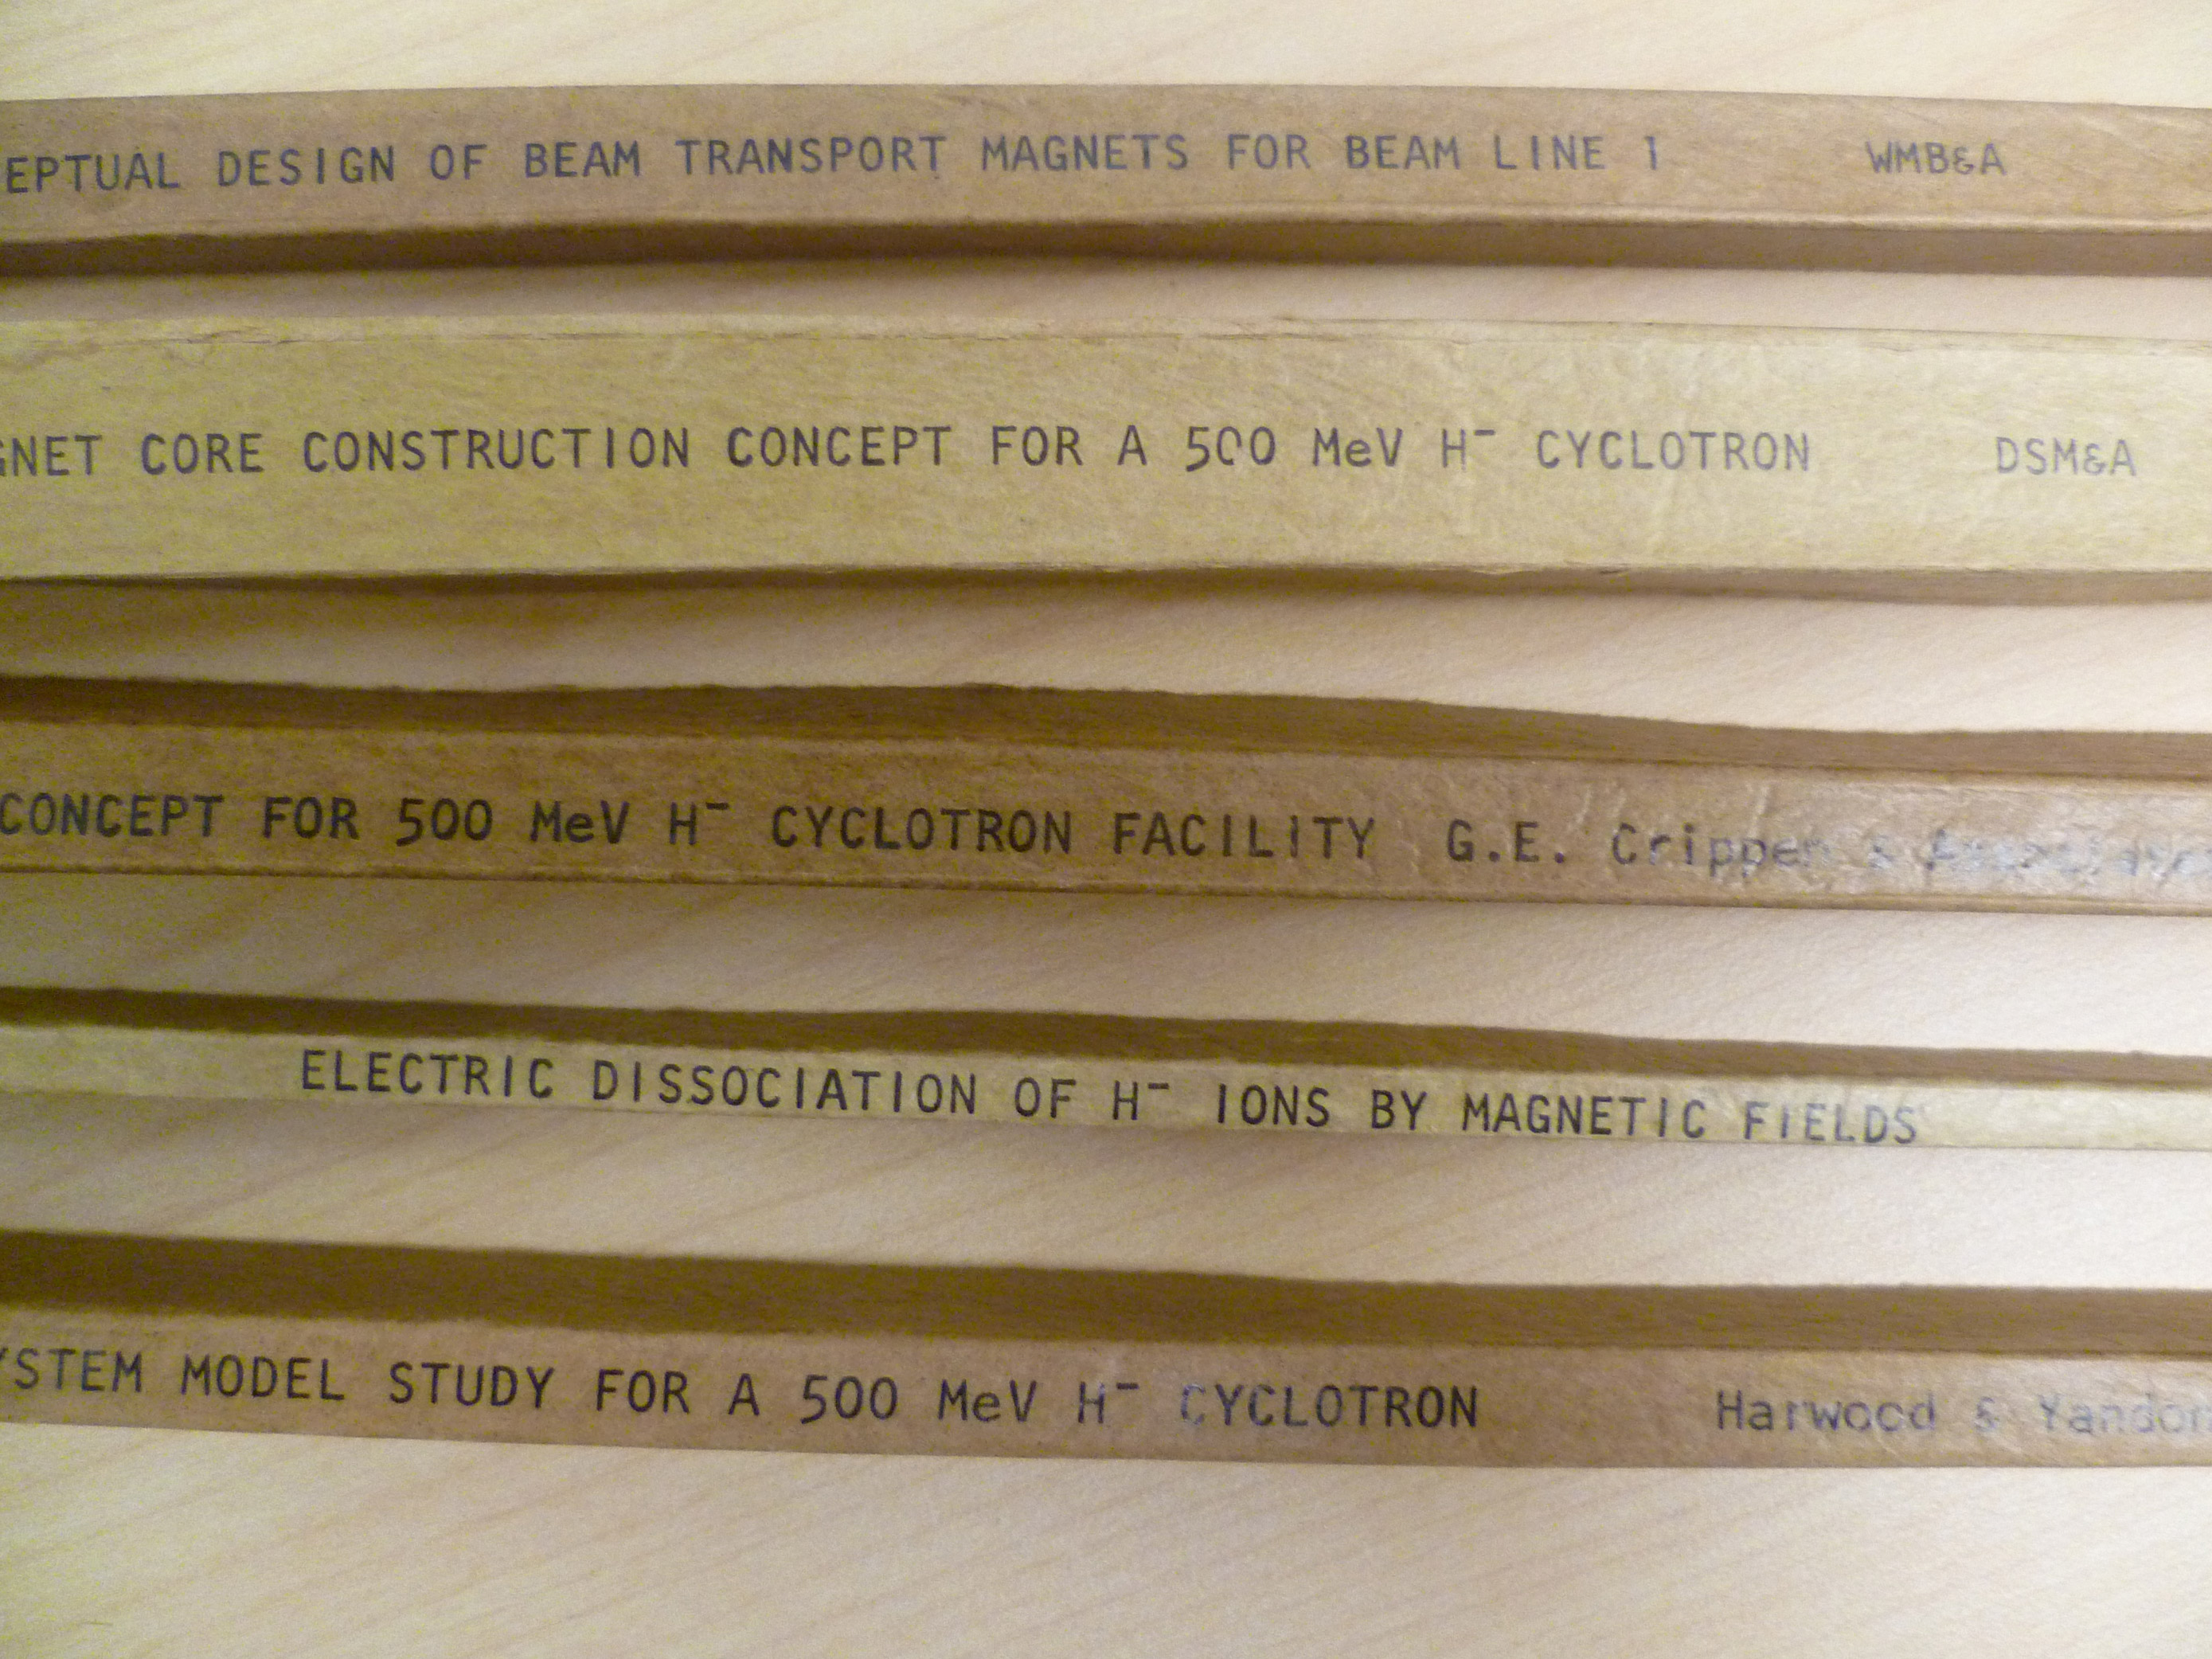 Here’s what the spines look like once they’ve been cut off. We haven’t even gotten to the really thick ones yet!


Nice to see one’s creations guillotined so lovingly!